

HOW TO PACK PLUSH TOYS
Giving presents is great fun, but it can be boring to wrap oddly shaped items like a plush . If you don't have gift bags on hand, you may feel like you've run out of options. Fortunately, there is many ways to pack a plush to make it look less lumpy and more like a fun and exciting gift that any child will love.
Making a wrapping paper pouch
1 Cut a strip of paper twice as wide as the plush.
Advice : it is better that your paper is too wide than not enough. You can cut paper, but you can't really add it.

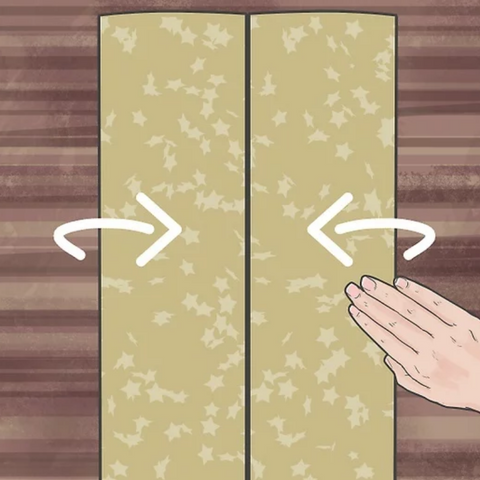
2 Fold the edges of the paper so they meet in the middle.
Check that the toy fits well in the wrapping paper and that it can fold on top of the toy.
3 Secure the edges of the paper with adhesive tape in the middle.
Clear tape will not disturb the pattern of the wrapping paper.

4 Make a 5.1 cm crease at the bottom of the paper.
Position the wrapping paper so that it is oriented vertically. Grab the bottom of the rectangle of wrapping paper and fold it up, but don't tape it.
You don't need to use a ruler to make the fold. Just estimate a few centimeters.

5 Press the outer edges of the fold inward.
Let go of the crease in your wrapping paper so it will stand up on its own. Press each vertical edge of the crease to create a diamond shape, then fold the paper so the diamond stays in place.
Be sure to create neat folds in the paper to provide a solid base for your pocket square.

6 Fold the bottom and top of the diamond inward and secure with tape.
This will be the bottom part of the pouch, so your pleats don't have to be perfect.

7 Place the toy in the pouch.

8 Roll the top of the pocket down and tape it closed.
Add a pretty bow or ribbon to your clutch to add style to your bag, and don't forget to write who it's for on the outside!

